
At a Glance
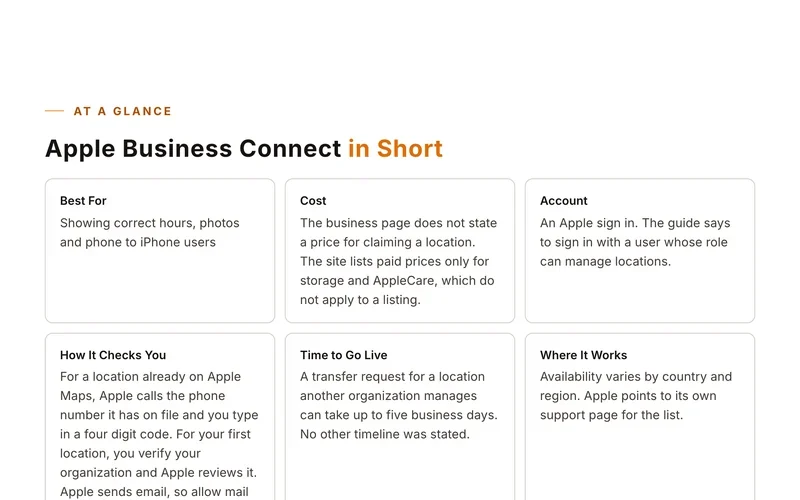
Apple Business Connect in Short
Best ForShowing correct hours, photos and phone to iPhone users
CostThe business page does not state a price for claiming a location. The site lists paid prices only for storage and AppleCare, which do not apply to a listing.
AccountAn Apple sign in. The guide says to sign in with a user whose role can manage locations.
How It Checks YouFor a location already on Apple Maps, Apple calls the phone number it has on file and you type in a four digit code. For your first location, you verify your organization and Apple reviews it. Apple sends email, so allow mail from apple.com.
Time to Go LiveA transfer request for a location another organization manages can take up to five business days. No other timeline was stated.
Where It WorksAvailability varies by country and region. Apple points to its own support page for the list.
Before You Start
What to Have Ready
- Exact business name
- Address that matches your website
- Phone number with country code
- Main category
- Opening hours
- Website or social page
Step by Step
Set Up Your Listing
- Go to business.apple.com and select Get started or Sign In.
- Choose Brands, then Locations.
- Select Add Location, then Add single location, then Next.
- Type the location name. Pick the existing Apple Maps listing with locate if your business is already there, or pick the option to add a new location with this name.
- Enter the address and check that the map pin sits over the right building. Drag the map if it does not.
- Fill in the default language, the display name, the main category, Open or Opening Soon, and the phone number.
- Add your website if you have one. A Facebook, Instagram or TikTok page also works.
- Set your hours of operation and choose or create your brand.
- Finish verification. For an existing location, choose Location Verification, pick Phone Verification, answer the call and enter the four digit code. For a new first location, verify your organization and send it to Apple for review.
Sites move their buttons around. If a screen looks different, look for words like add, claim or list your business.
Good to Know
Tips for This Site
- Search for your business first. If it already shows on Apple Maps, claim it instead of adding a new one.
- Apple wants the address to match the one on your official website.
- Put the map pin on top of the building, not the sidewalk.
- If you do not know the number Apple has on file for phone verification, contact Apple Business support.
Keep Going
More Places to Get Listed
Where we read this.
Start Here
Have Us Do It
Name, number and what you need. A real person reads it and replies, usually the same day.
Rather talk now? (562) 568-8305 Mon to Fri, 8am to 5pm Pacific
Rather Not Do It Yourself?
We build citations and hand you every live link. Tell us about your business and we will take it from there.